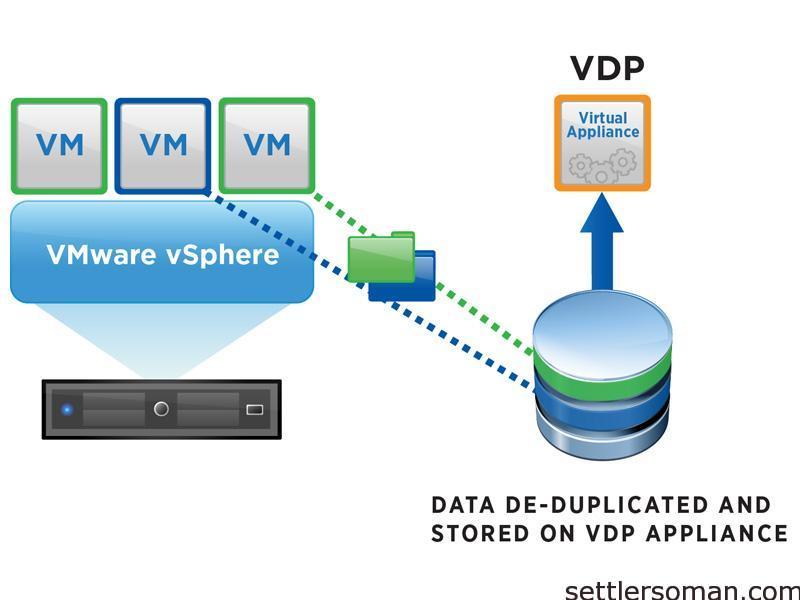
vSphere Data Protection (VDP) is a robust, simple to deploy, disk-based backup and recovery solution. VDP is fully integrated with the VMware vCenter Server and enables centralized and efficient management of backup jobs while storing backups in de duplicated destination storage locations.
The benefits of vSphere Data Protection (VDP) are as follows:
- Provides fast and efficient data protection for all of your virtual machines, even those powered off or migrated between vSphere hosts.
- Significantly reduces disk space consumed by backup data using patented variable-length deduplication across all backups.
- Reduces the cost of backing up virtual machines and minimizes the backup window using Change Block Tracking (CBT) and VMware virtual machine snapshots.
-
Allows for easy backups without the need for third-party agents installed in each virtual machine.
-
Uses a simple, straight-forward installation as an integrated component within vSphere, which is managed by a web portal.
-
Provides direct access to VDP configuration integrated into the vSphere Web Client.
-
Provides simplified recovery of Windows and Linux files with end-user initiated file level recoveries from a web-based interface.
-
Through replication, enables you to avoid data loss if the source VDP Appliance fails because copies of the backups are available on a destination target.
Generally, there are available two version of VDP: Basic (included in all vSphere editons without Essential) and Advanced (licensed). The functionalities of both versions are as follows:
 Note: Number of appliances supported per vCenter: 10 (VDP 5.5) / 20 (VDP 5.8)
VMware FAQ available here.
Requirements:
Before deploying VDP, please have ready:
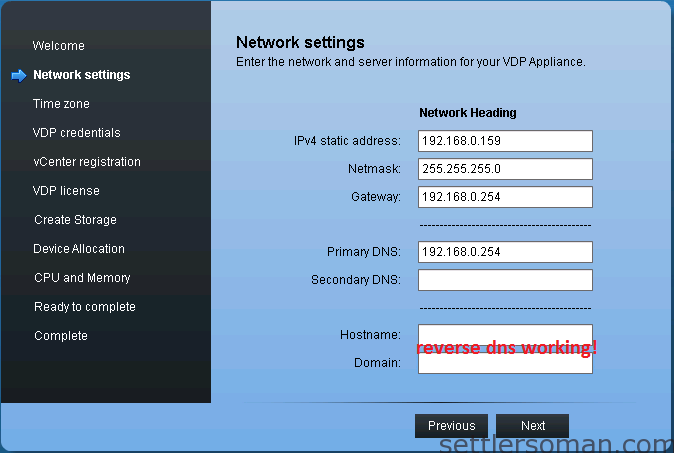
- VDP appliance network settings (IP, MASK, GATEWAY)
- A new password for root user.
VDP is an appliance so to deploy please follow steps:
- Download VDP OVA file from here.
- Connect to a vCenter Server with the vSphere Web Client.
- Select an inventory object that is a valid parent object of a virtual machine, such as a datacenter, folder, cluster, resource pool, or host.
- Select Actions > All vCenter Actions > Deploy OVF Template.
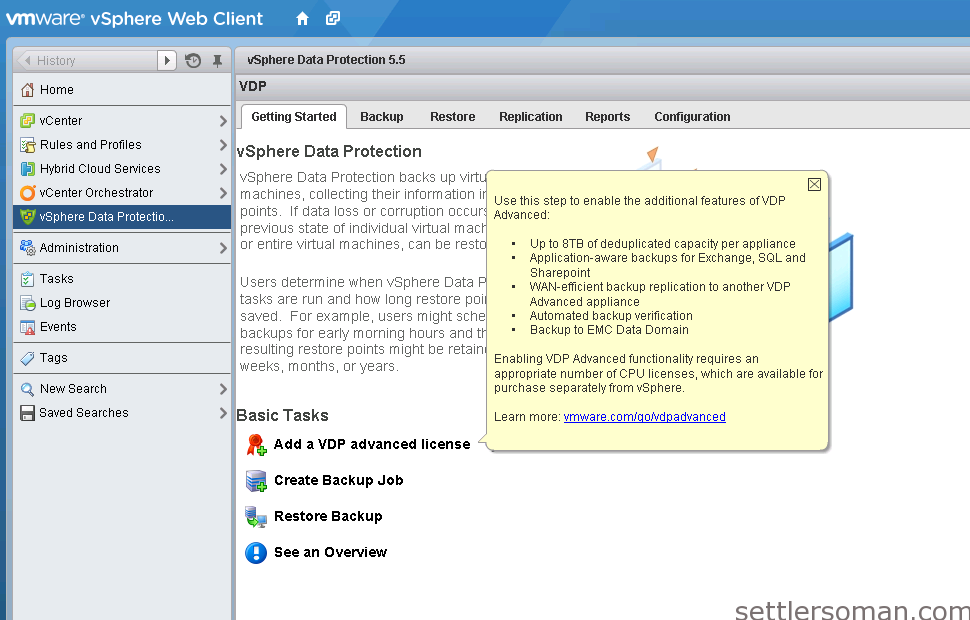
To configure VDP, please follow the steps:
Please open: https://<IP of the appliance>:8543/vdp-configure/ and login using default credewntials: login: root , password: changeme.
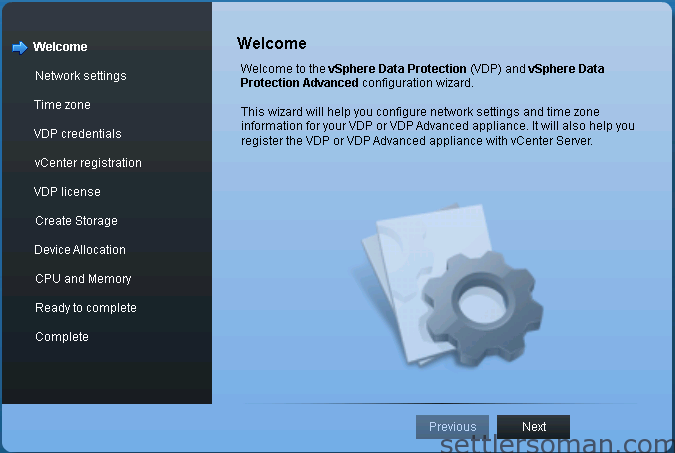
- Type VDP appliance network settings. The address IP has to be resolved by DNS.
- Choose Time Zone.

- Type a new root password.
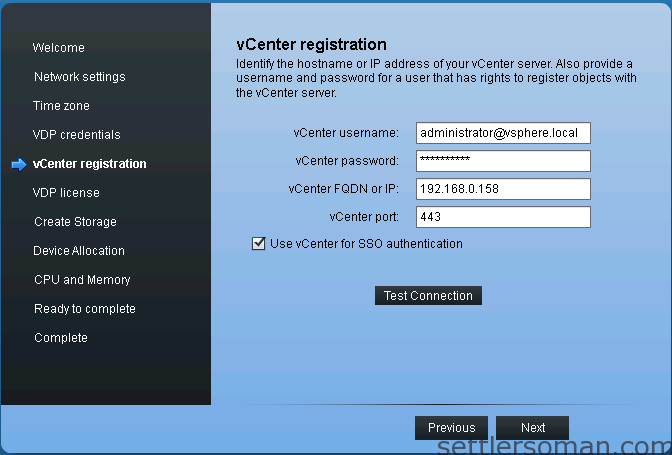
- Type vCenter credentials and click Test Connection.
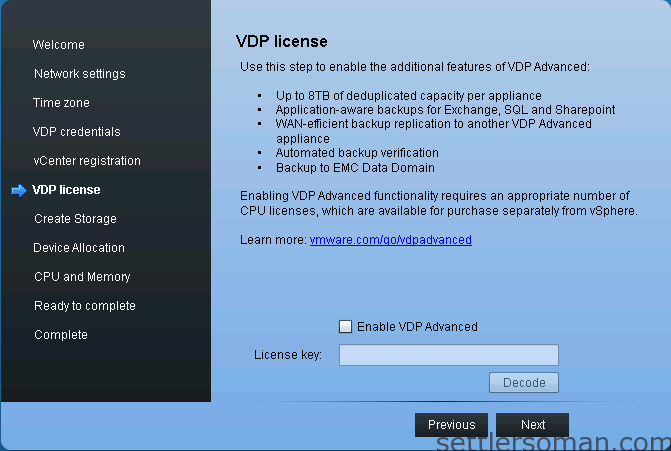
- If you have VDP Advanced license, you can add it here. (or later via Web Client). Click Next.
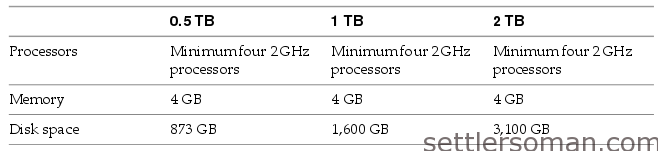
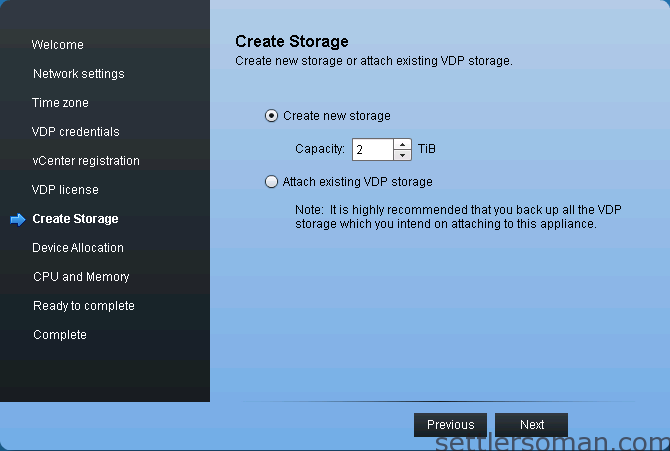
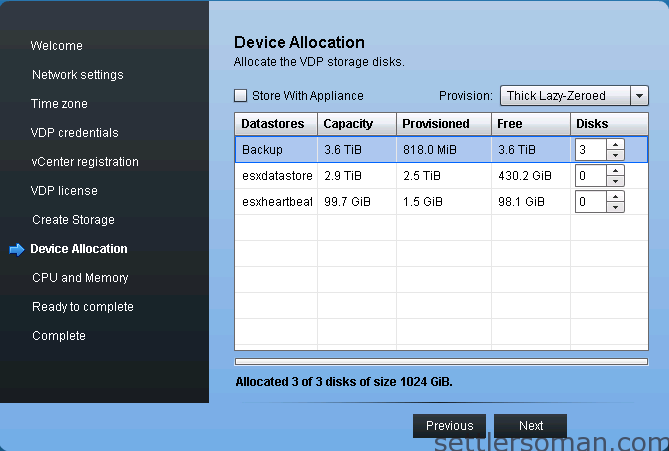
- Create new storage: choose 0,5TB, 1TB, 2TB.
- Choose backups destination.
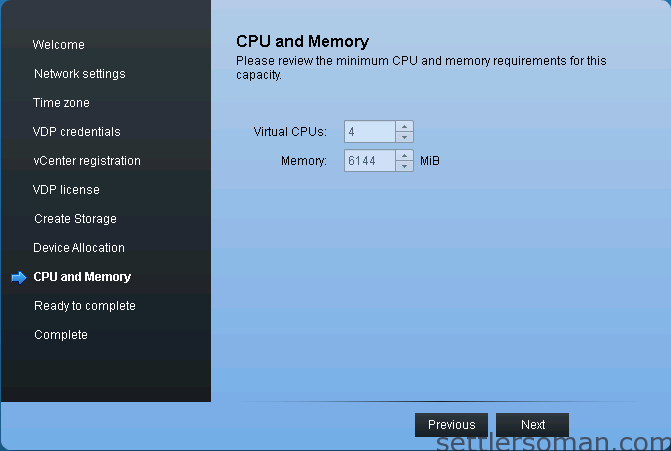
- CPU and Memory will be set automatically. If you don't have Hot add licensed, you have to turn off VDP VM and change RAM. You will be notified just in case.
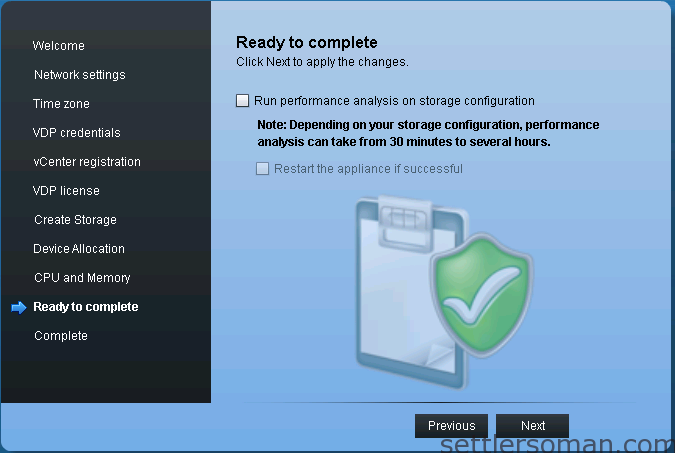
- Run or not performance analysis. Click Next.
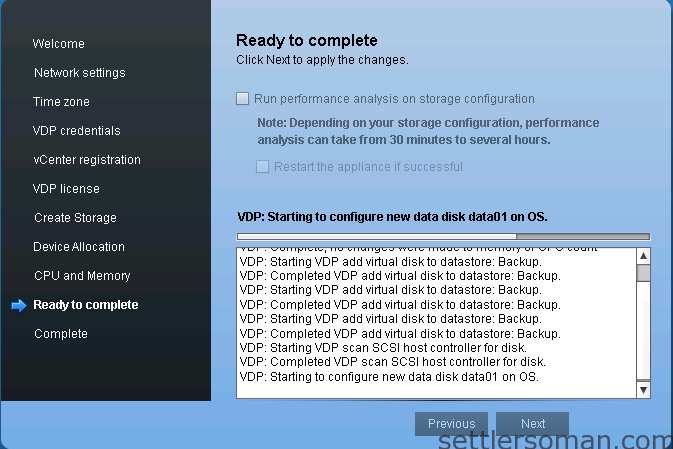
- Deploying...
- Reboot VDP appliance.
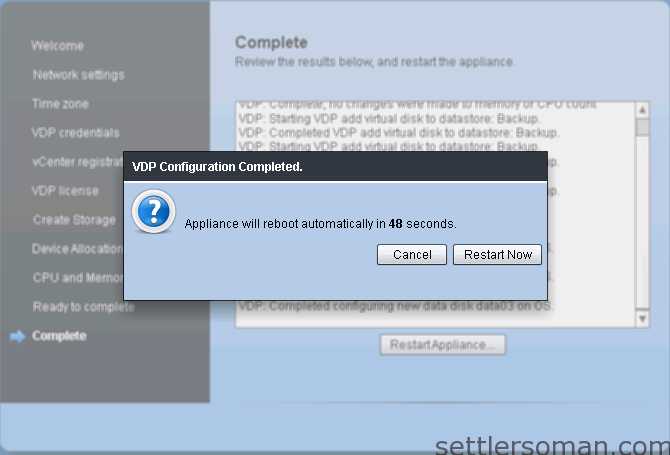
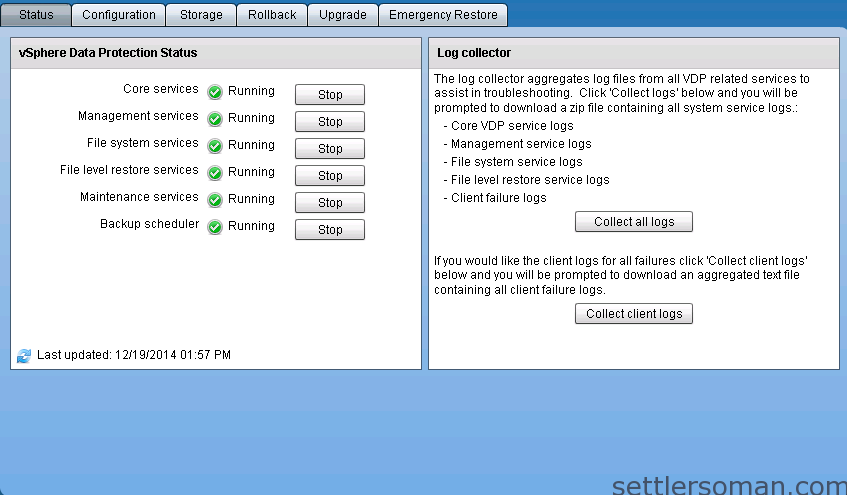
- Login again to the vSphere Data Protection Configuration Utility web portal:
- After deploying VDP, you can see it via vSphere Web Client: