In this post I will show how to install Site Recovery Manager (SRM) 5.8 or 6.x using embedded database.
SRM is disaster recovery solution that provides automated orchestration and non-disruptive testing of centralized recovery plans for all virtualized applications. For more information about this solution please follow my another post: Site Recovery Manager 5.8: Architecture Overview and Features.
Installing Site Recovery Manager (SRM) with embedded database
To install Site Recovery Manager with embedded database please follow below steps (based on SRM 5.8):
- Download SRM binary from here.
- Double-click the Site Recovery Manager installer, select an installation language, and click OK. Click Next.
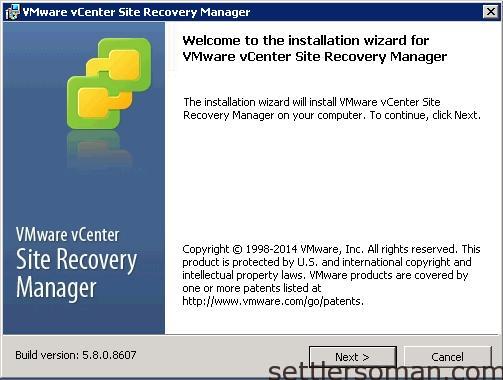
- Click Next.
- Accept the license agreement.
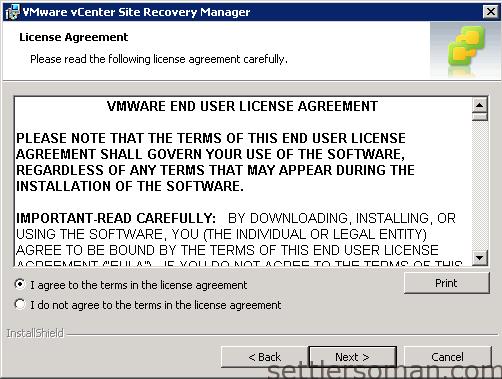
- Click Next.
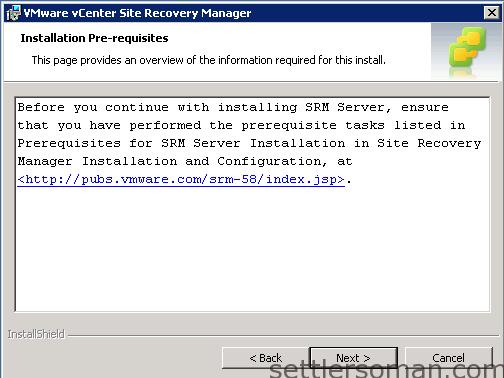
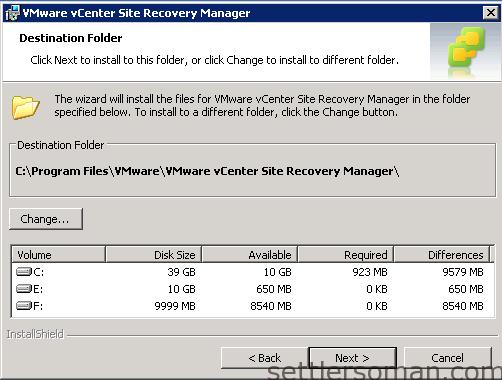
- Choose where to install Site Recovery Manager Server, and click Next.
- Enter information about the vCenter Server instance at the site where you are installing Site Recovery Manager and click Next.
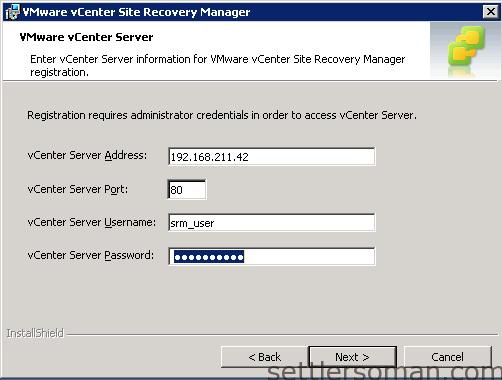
-
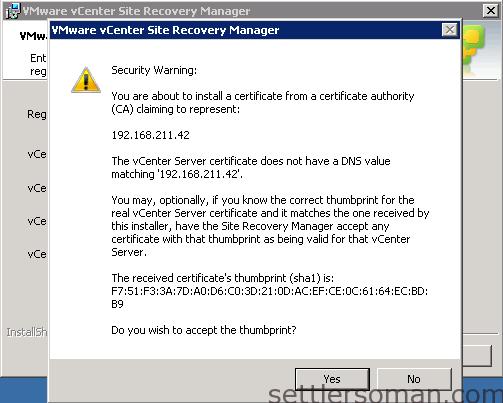
If you are using credential-based authentication, verify the vCenter Server certificate and click Yes to accept it. If you are using certificate-based authentication, you do not receive a prompt to accept the certificate
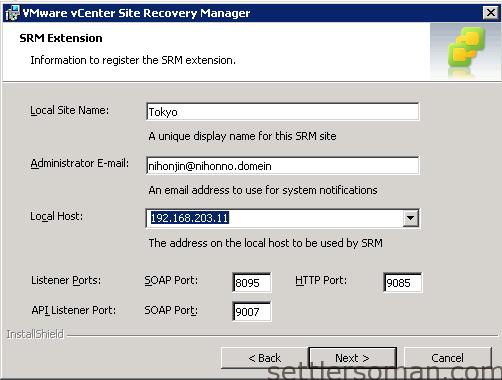
- Enter information with which to register the Site Recovery Manager with vCenter Server, and click Next. The Site Recovery Manager installer supplies default values for the listener ports. Do not change them unless the defaults would cause port conflicts.
- Select the default Site Recovery Manager plug-in identifier, or create a plug-in identifier for this Site Recovery Manager Server pair, and click Next. You can install Site Recovery Manager in a shared recovery site configuration, in which multiple protected sites recover to a single recovery site.
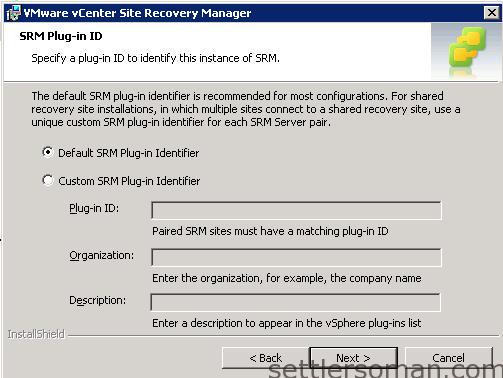 Default SRM Plug-in Identifier - Installs Site Recovery Manager in a standard configuration with one protected site and one recovery site.
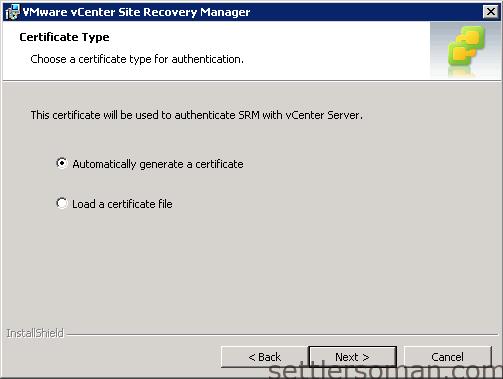
Custom SRM Plug-in Identifier - Installs Site Recovery Manager in a shared recovery site configuration, with multiple protected sites and one recovery site. Enter the details of the plug-in identifier. - Select an authentication method and click Next. You must use the same authentication method on both sites. If you attempt to use credential-based authentication on one site and certificate-based authentication on the other, site pairing fails.
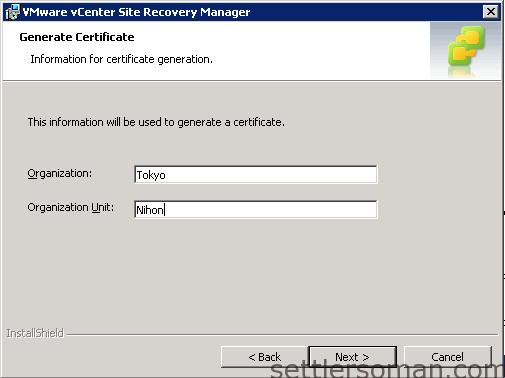
- Enter text values for your organization and organization unit, typically your company name and the name of your group in the company. Click Next.
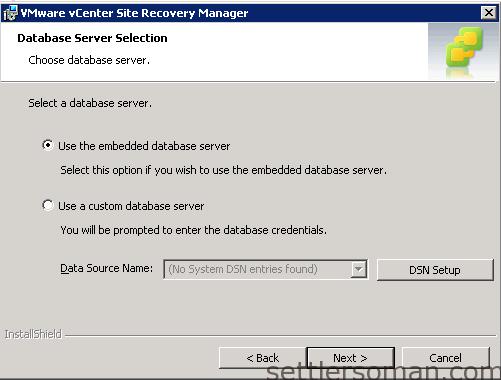
- Select whether to use the embedded database or a custom database, and click Next. If you use a custom database server, please follow another post.
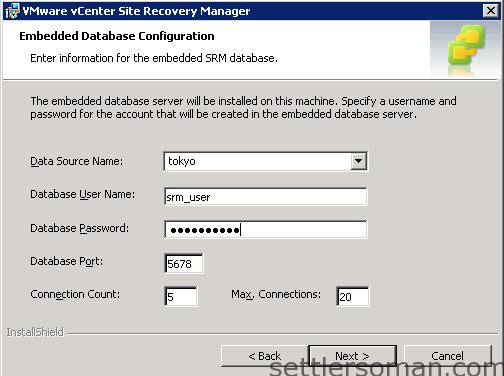
- Provide the Site Recovery Manager database configuration information and click Next.
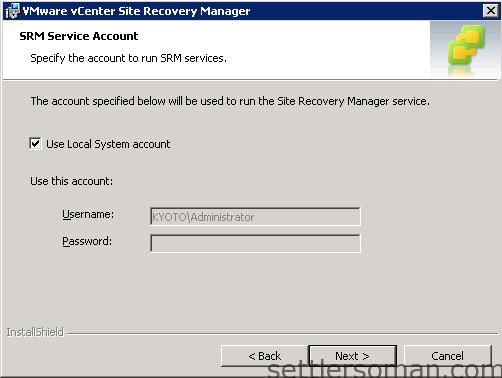
- Select the user account under which to run the Site Recovery Manager Server service.
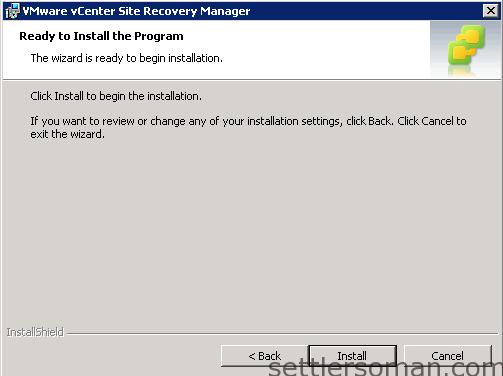
- Click Install.
- Repeat steps 1-16 in the DR site.
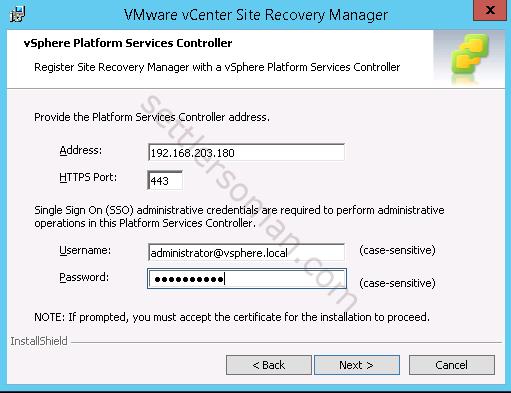
UPDATE June 2015: Practically, there are not difference between Site Recovery Manager 5.8 and 6.0. The installation process is almost the same. In step 7 you need to specify SSO/Platform Services Controller: