As I described in my another post What's new in vSphere 6.0 - Virtual Volumes, VVOLs let you manage your storage at the virtual machine level instead of the datastore level. NetApp is one of the first storage vendor supporting VVOL. In this post I will show how to configure VVOL to be able to use it under vSphere 6.0 and NetApp Clustered Data ONTAP.
VVOL Prerequisites/requirements on NetApp
The are some prerequisites/requirements to use VVOLs on NetApp storage systems as follows: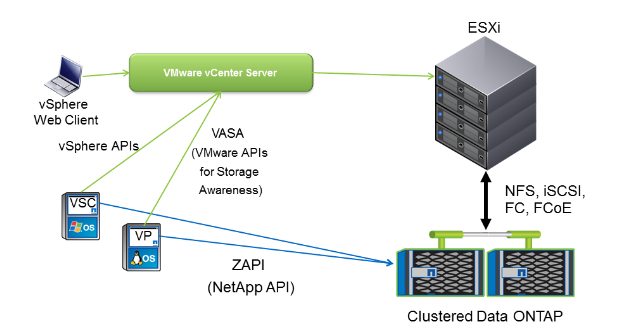
- Clustered Data ONTAP 8.2.1 or later.
- Virtual Storage Console (VSC) 6.0.
- VASA Provider (VP) 6.0 for clustered Data ONTAP. For more information what VASA is, please follow the post VASA - important vSphere feature?
- vCenter 6.x and ESXi 6.x. If you do not have vCenter 6 already installed, I recommend you to deploy and configure vCenter Appliance 6 or upgrade VCSA 5.5 to 6.0.
To be able to play with VVOLs you need to do below steps:
- Download (here) and install Virtual Storage Console 6.0.

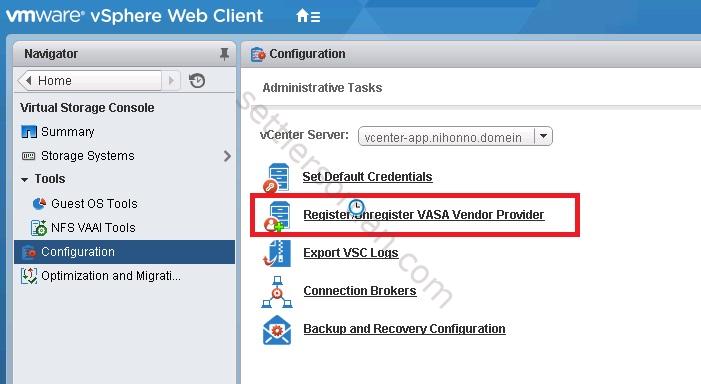
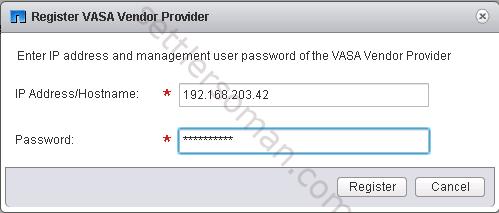
- Download (here), deploy (because this is a virtual appliance) and register VASA Provider (VP) 6.0 for clustered Data ONTAP.

- Add NetApp Storage to the Virtual Storage Console (VSC). If you want to just test VVOL on NetApp, you can deploy and configure Clustered Data ONTAP simulator.
- Create a Storage Capability Profile (SCP).
Installing and configuring Virtual Storage Console (VSC) 6.0
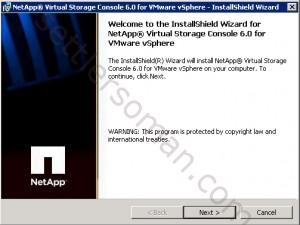
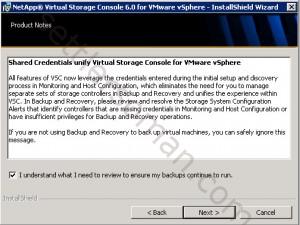
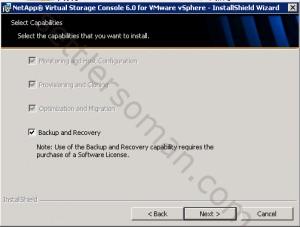
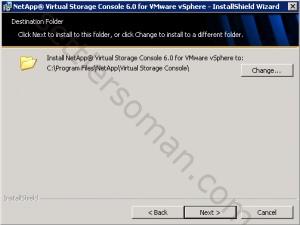
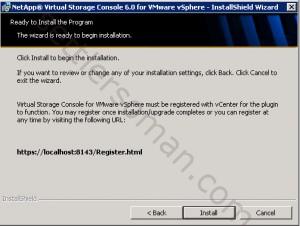
The installation of Virtual Storage Console 6.0 is easy and smooth. You need to prepare a virtual machine with Windows OS (or use the same machine if you use Windows vCenter) and click few times "Next" 🙂
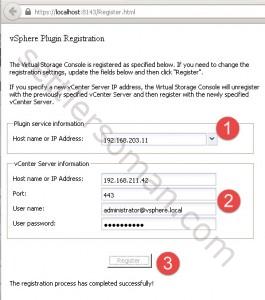
When you install the Virtual Storage Console (VSC) you have to register it with vCenter doing the following steps:
-
Open a browser to https://localhost:8143/Register.html
- Click Register (3).
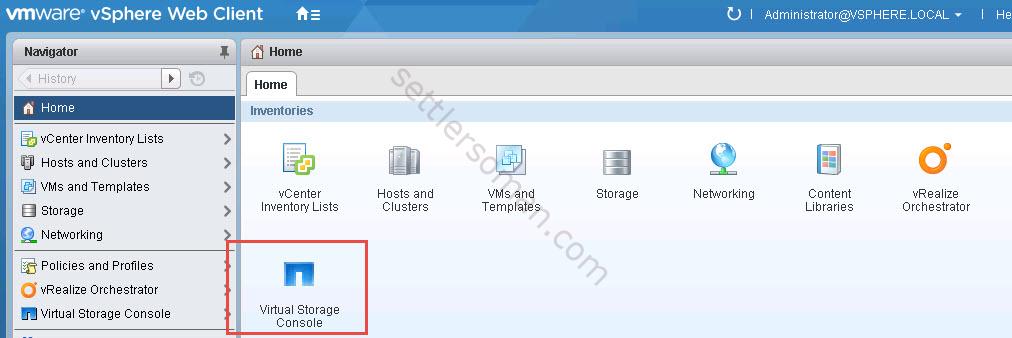
- Go to the Web Client (re-login if necessary). VSC icons and menus should be available.
Deploying and configuring VASA Provider 6.0 for clustered Data ONTAP
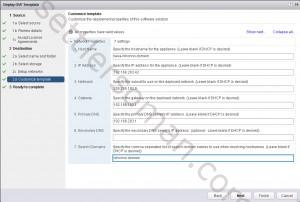
The deployment of VASA Provider 6.0 for clustered Data ONTAP is easy as well. VASA Provider is distributed as a virtual appliance so you have to use a standard procedure that I prepared - How to deploy an OVF template. The requirements of VASA appliance are:
- Hosts: ESX/ESXi 4.0 and higher
- Virtual Hardware Version: 7
- Recommended memory: 8 GB RAM
- Recommended CPUs: 4
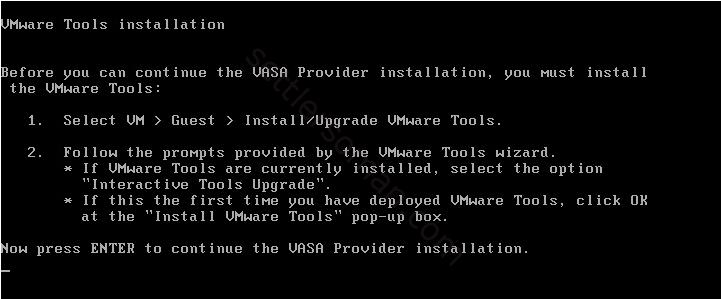
When you deploy VASA Provider, you have to power on the VASA appliance and open the virtual console because it is necessary to install VMware Tools:
- Wait till the VMware Tools are installed.

- In the VP console, press enter to reboot.
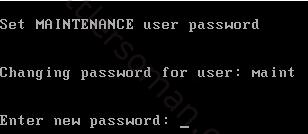
- Set password for maintenance user (maintenance tasks).
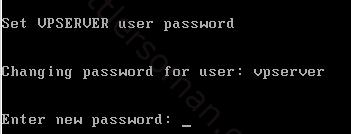
- Set password for vpserver user.
-
Wait for the VASA Provider to start all processes and Application Status to display vpserver is running and waiting for vSphere registration:
- VASA Provider should be successfully registered.
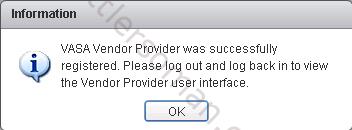
- Please log out and log in Web Client.
Adding NetApp Storage to the Virtual Storage Console (VSC)
Now we have to add our NetApp Storage to the Virtual Storage Console. Please follow the below steps:
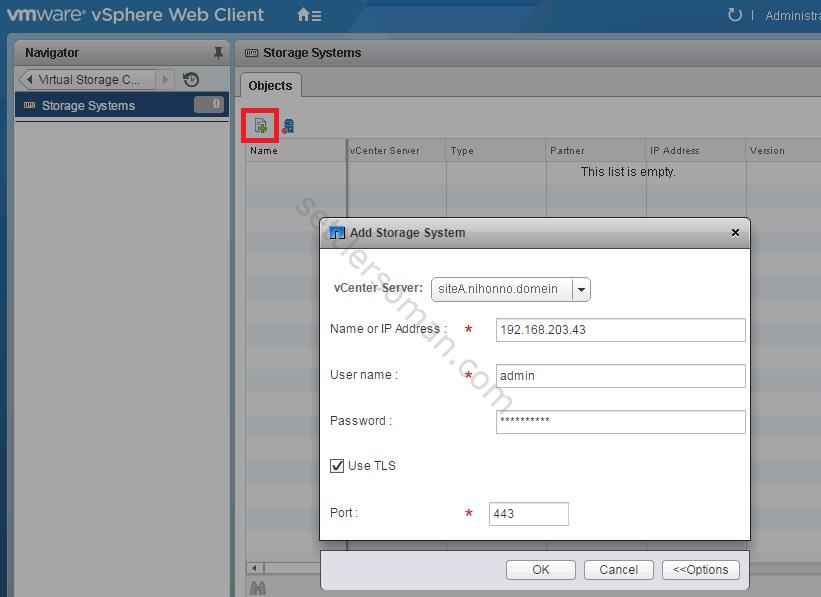
- In the vCenter Web Client, click the Home icon, then Virtual Storage Console --> Storage Systems. Then click button shown on the below figure. Enter the cluster management IP address, “admin” for the username and the password. Then click OK.
- Review the allowed privileges then click OK.
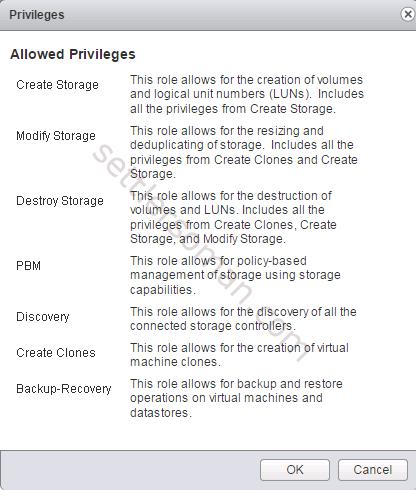
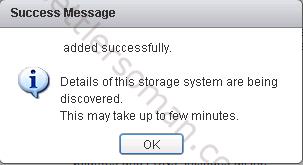
- Wait when details of NetApp Storage will be discovered.
Please follow the next post about creating Storage Capability Profile and provisioning VVOLs on NetApp ! 🙂
