This post covers configuring NetBackup policy to backup/protect all databases on Microsoft SQL Server host. The configuration can be divided for two parts:
- Create a sql backup batch file on source (Microsoft SQL Server host).
- Create a NetBackup policy on Master Server.
Before showing how to do above parts, let's discuss some basic terminology used in this post:
- batch file - The script that is used to back up or to restore SQL Server objects. The database agent performs all operations through a batch file. Batch files are typically stored in the install_path\dbext\mssql\ directory.
- full backup - A complete backup of the database that contains all of the data files and the log file. (Note that a full backup does not truncate the transaction log.)
- differential backup - A backup of the changed blocks since the last full backup.
- transaction log backup - A backup of the inactive portion of the transaction log. Typically, this portion of the transaction log is truncated after it has been backed up successfully.
- transaction log - An ongoing record of updates that were made to a database.
- backup stripes - A data stream that is used for a backup or a restore of SQL Server objects. The user specifies the number of stripes for the backup. NetBackup performs a separate job each stripe that is specified.
There are also some requirements to backup Microsoft SQL Server by NetBackup. The most important are as follows:
- NetBackup for SQL License added on Master Server.
- NetBackup Client installed on Microsoft SQL Server host.
- The SQL Server version supported by NetBackup.
For more information always please follow the NetBackup SQL Guide.
To create a batch file please follow the below steps:
- From the Windows Start menu, select Programs > Symantec NetBackup > NetBackup Agents > NetBackup MS SQL Client.
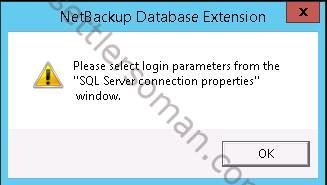
- When you are prompted to provide the logon parameters, click OK.
- In the SQL Server connection properties dialog box, select the SQL Server host and instance that you want to log into.
- If the SQL Server host and instance use standard or mixed security, provide the SQL Server user ID and password or domain user/password.
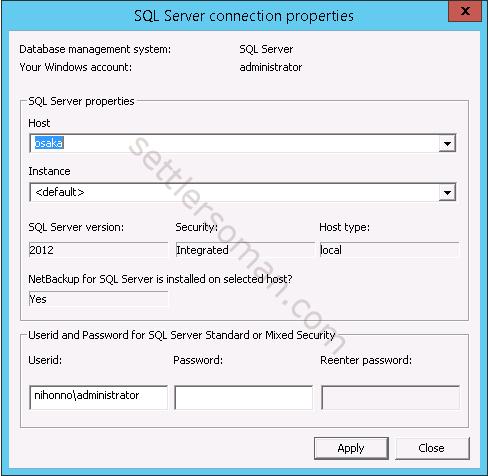
- Click Apply.
- Click Close.
- Select File > Backup SQL Server objects.

- In the Backup Microsoft SQL Server Objects dialog box, in the left pane, select the database instance.
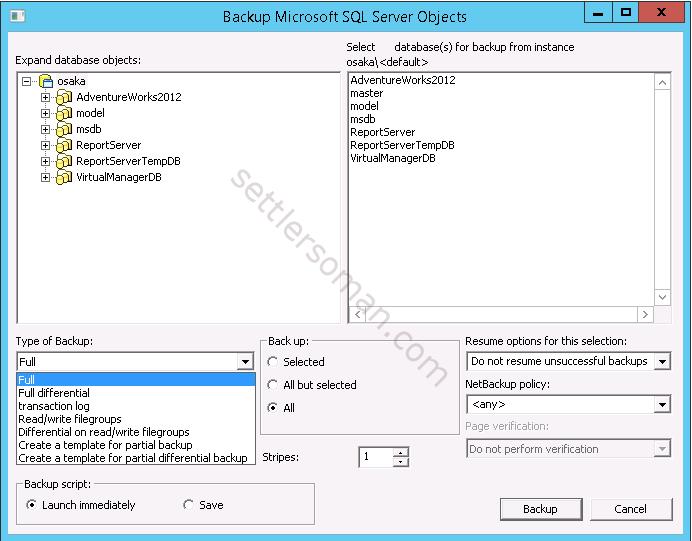
There are backup types as follows:- Full - Create a full database backup.
- Full differential - Create a differential backup.
- Transaction log - Create a transaction log backup. This type of backup is only available for databases. When you select this type of backup, you then need to select a backup option from the Transaction log backup options list.
- Back up and truncate transaction log - Back up the transaction log and remove the inactive part of the transaction log.
- Back up transaction log, but do not truncate it - Back up a transaction log without truncating it.
- Back up and restore tail log - Back up and recover the tail log from disk.
- Read/write filegroups - Create a backup of read or write filegroups in a database.
- Differential on read/write filegroups- Create a differential backup of read or write filegroups in a database.
- Create a template for partial backup - Create a backup of only the selected filegroups in a database.
- Create a template for partial differential backup - Create a differential backup of only the selected filegroups in a database.
- In the right pane, select one or more databases that you want to back up. I selected to backup all databases.
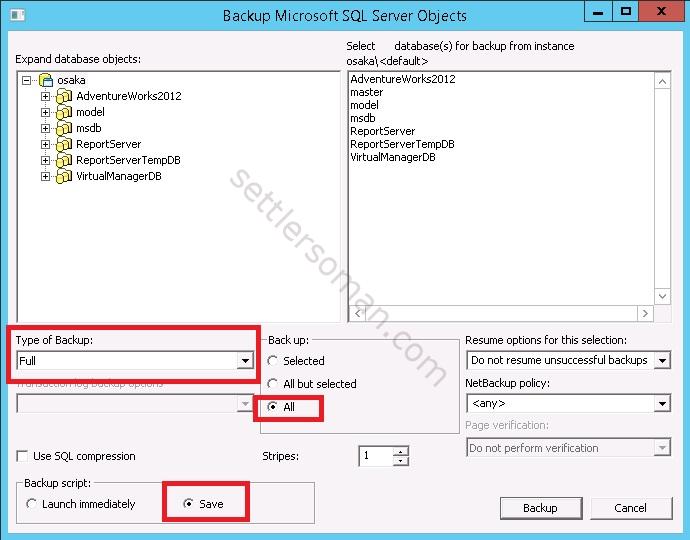
- Select Save to create a batch file.
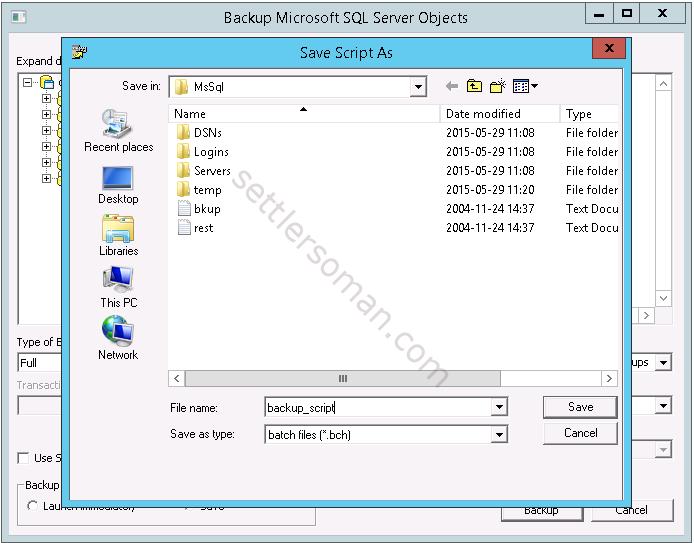
- Specify the batch file name and click Save.
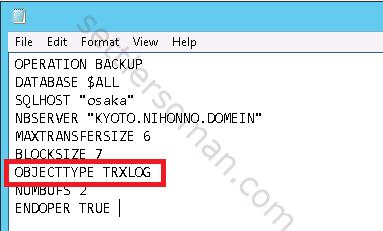
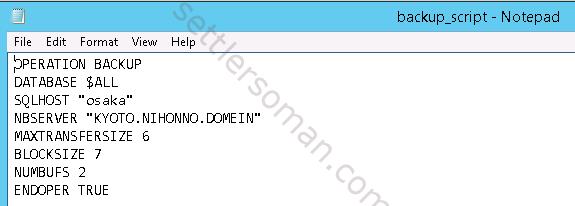
- You can check the batch file/or modify it. Close the file.
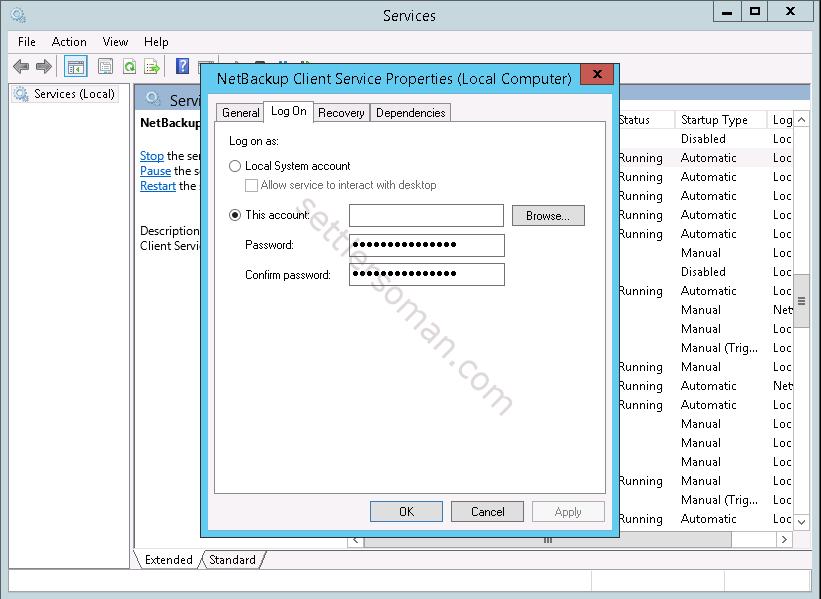
- If you used windows domain account in 2 step, you need configure the logon account for the NetBackup services. NetBackup Client Service and the NetBackup Legacy Network Service must meet the following requirements:
- The account has the fixed serverrole “sysadmin.”
- Both services must use the same logon account.
To create a NetBackup policy for SQL please follow the below steps:
- Start the NetBackup Administration Console.
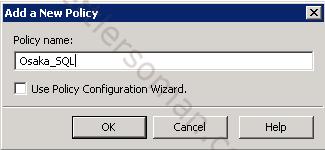
- In the NetBackup Administration Console, select NetBackup Management > Policies. Then select Actions > New > New Policy. Type a name of policy and click OK.
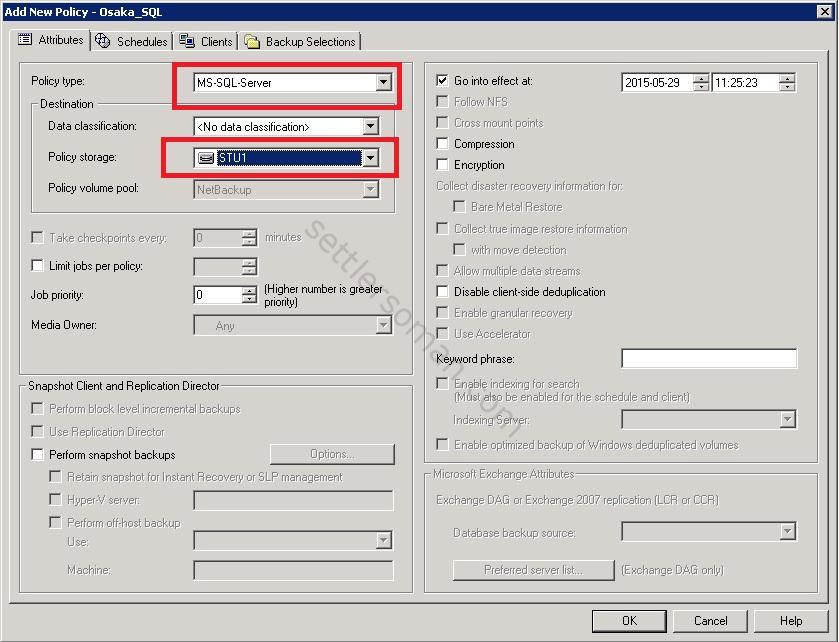
- In the Add New Policy dialog box, in the Policy type list, select MS-SQL-Server and Policy Storage (backup target).
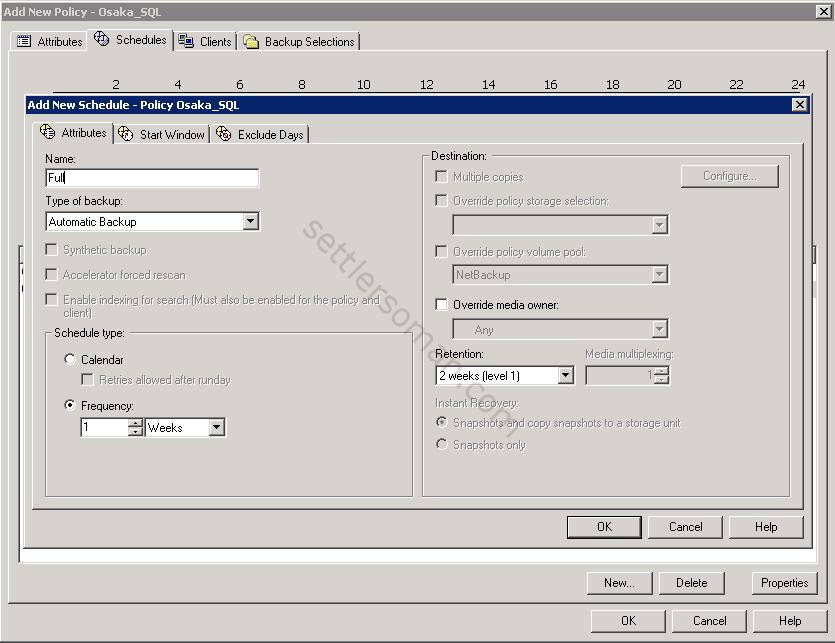
- On schedules tab, please create an automatic type schedule.
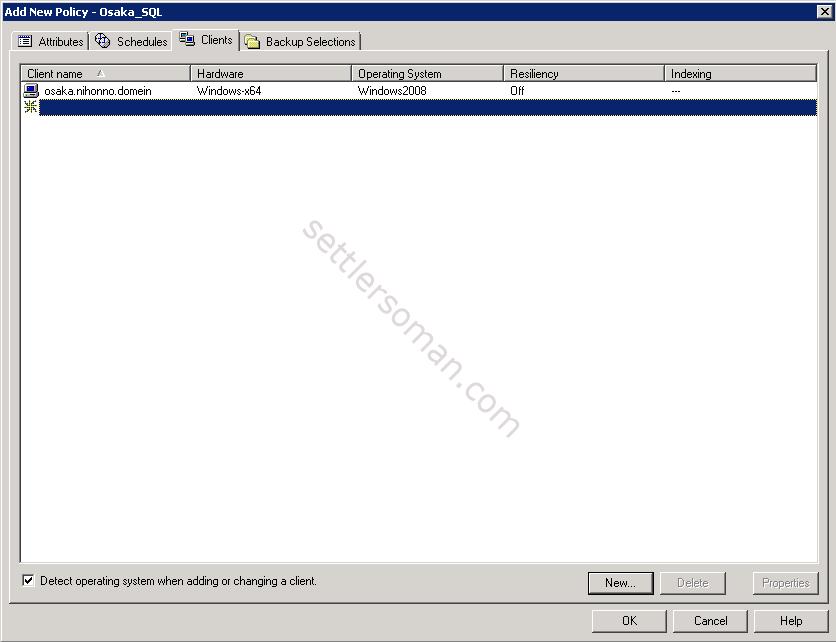
- Add clients (SQL Server).
- Specify a path to the batch file created earlier in this post.
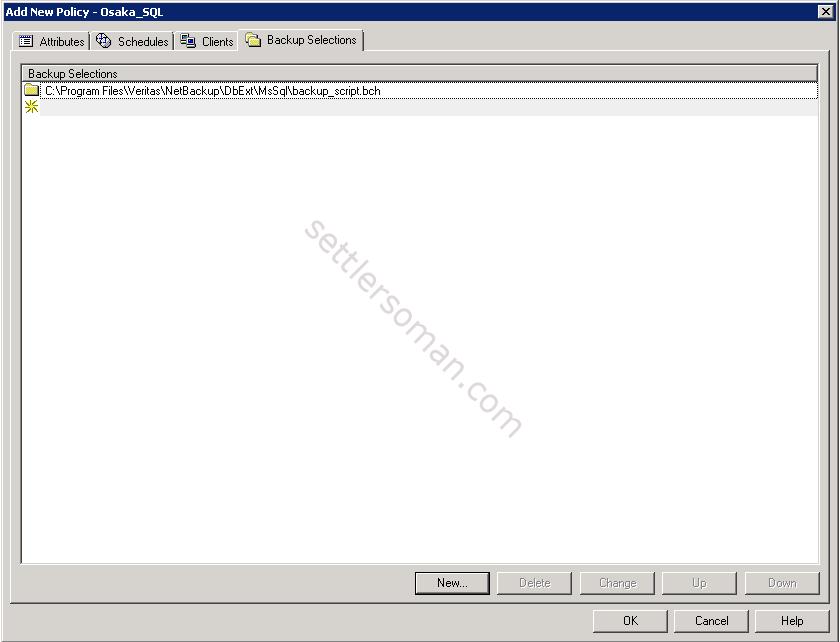
- Click OK to save the policy.
Testing the created policy
Now, let's start our policy manually.
Wow, it works! Microsoft SQL databases have been backed up. However a batch file consists of a series of operations (backups and restores) which by default are run in sequence. Let's change our script to run a backup of 10 databases at the same time. We need to modify the batch file and add the following parameter (batchsize 10, 10 is maximum):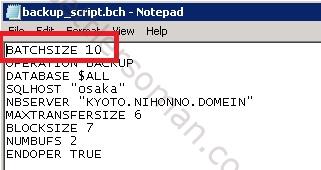 And now we can see there are more backup jobs at the same time:
You can find some useful parameters in the NetBackup SQL guide. Just I wanted to show that you can always modify what and how should be backed up 🙂
Important: I showed how to perform the full backup of SQL databases. As mentioned earlier, logs are not truncated during this type of backup. If you need to truncate logs or backup logs, please select type of backup: Transaction log --> Back up and truncate transaction log in step 8: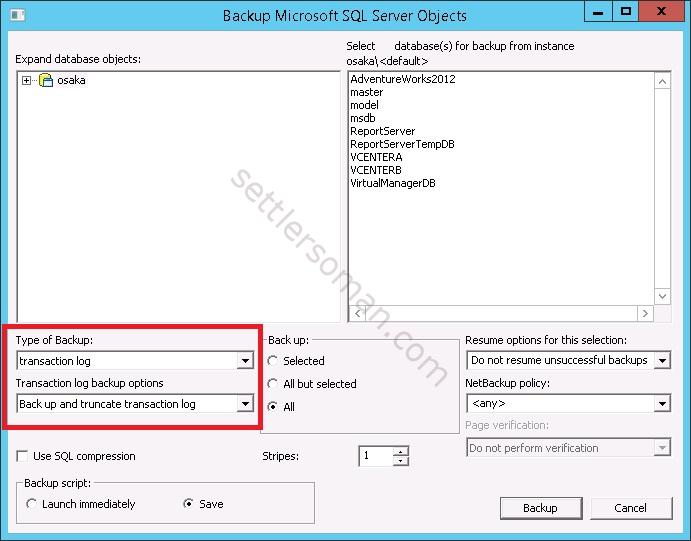
You should create two batch files: the first one to backup databases, the second one to backup and truncate logs.