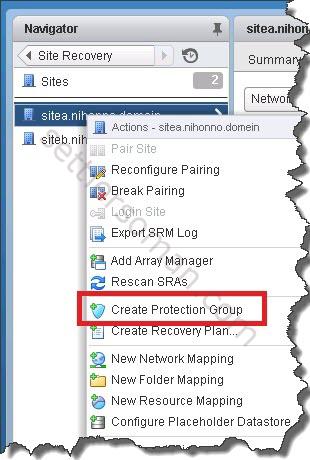
This post covers integrating Site Recovery Manager (SRM) with vSphere based replication. There are some others post that you should read before:
- Site Recovery Manager (SRM): Architecture overview
- Site Recovery Manager (SRM): installing with embedded database
- Site Recovery Manager (SRM): installing with external database
- Installing and configuring vSphere Replication 6.0
After you install SRM and vSphere Replication, you can configure Site Recovery Manager based on the following high level steps:
- Pairing the protected and recovery sites.
- Configuring a Placeholder Datastore.
- Configuring Inventory Mappings.
- Configuring Protection Groups.
How to pair the protected and recovery sites?
The first step should be connecting the Site Recovery Manager Server instances on the protected and recovery sites. To pair the protected and recovery sites please follow the below steps:
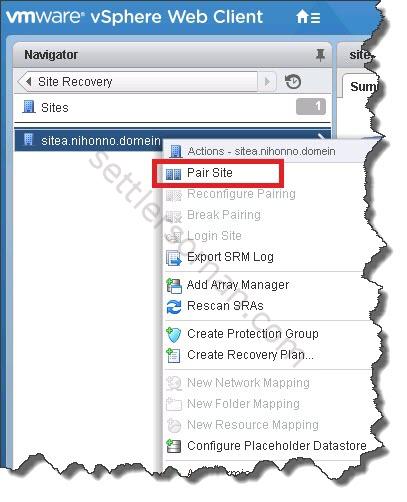
- Connect to vSphere Web Client on one of the sites, and select S. Right click on Site and Select Pair Site.
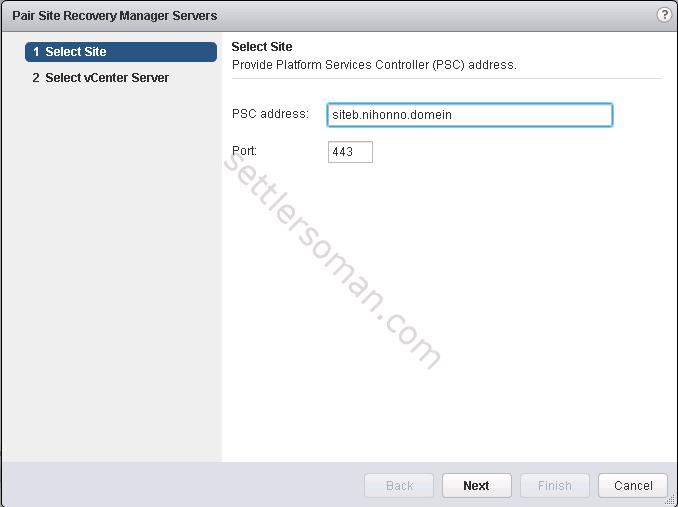
- Enter the address of the Platform Services Controller for the Site Recovery Manager Server on the remote site, and click Next.
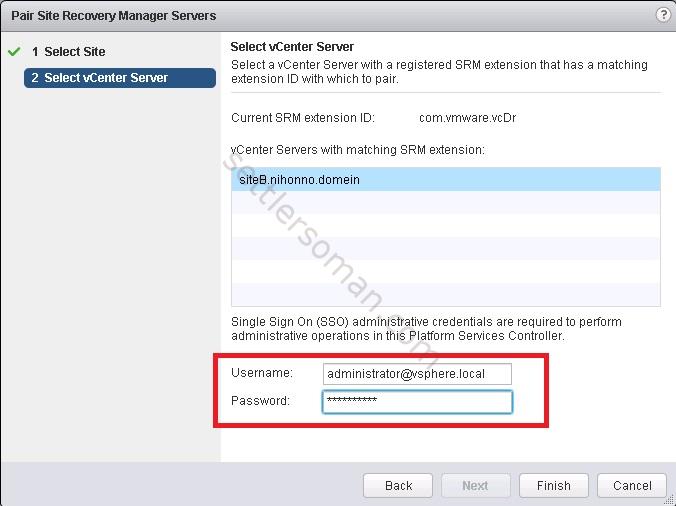
- Select the vCenter Server instance with which Site Recovery Manager Server is registered on the remote site, provide the vCenter Single Sign-On username and password, and click Finish.
How to configure a Placeholder Datastore?
The next step should be configuring Placeholder datastores where SRM stores placeholder virtual machines on the recovery site. The placeholder datastore should be dedicated. For more information please follow my another post regarding to placeholder datastore design.
To create a placeholder datastore please follow the below steps:
- In the vSphere Web Client, click S, and select a site.
- On the Manage tab, click Placeholder Datastores. Click the icon to configure a placeholder datastore.

- Select a datastore to designate as the location for placeholder virtual machines on the local site, and click OK.
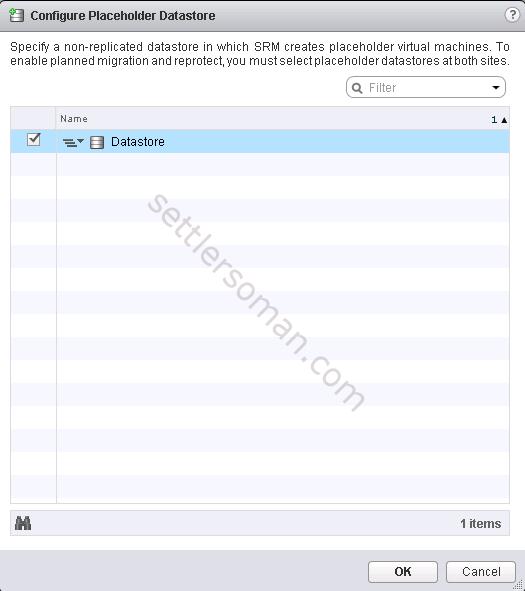
- Specified placeholder datastore:

- Select the other site in the pair. Repeat steps 1-3.
Why and how to configure Inventory Mappings?
Site Recovery Manager maps virtual machine resources at the protected site to resources at the recovery site using Inventory Mappings that you peform on the following objects:
- Networks
- Folders
- Compute resources
- Placeholder datastores
You should configure inventory mappings at the recovery site to enable reprotect as well.
To configure Inventory Mappings please follow the below steps:
- In the vSphere Web Client, click Si, and select a site.
- On the Manage tab, select the type of resource to configure. Click the icon to create a new mapping.

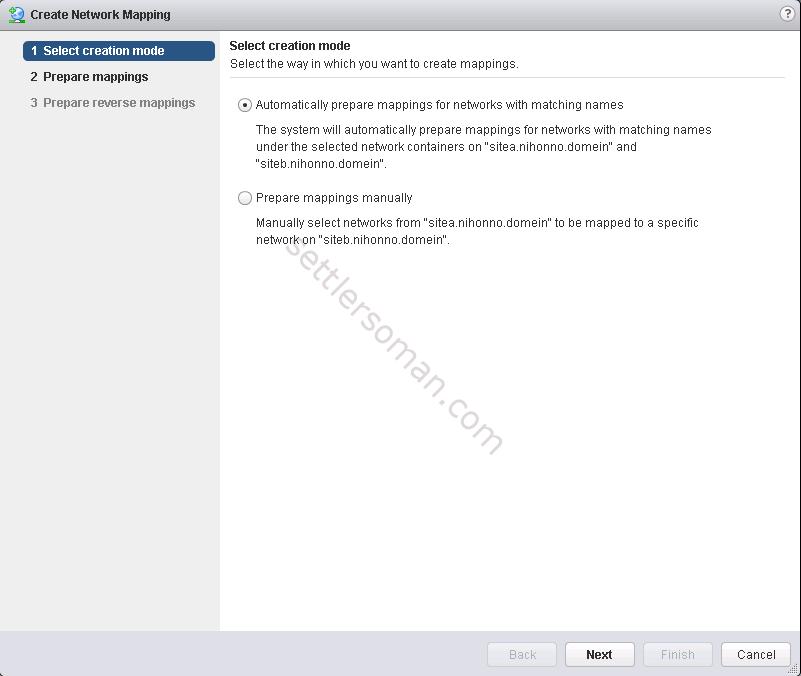
- Select creation mode. Please select Automatically prepare mapping for networks with maching names. Click Next.
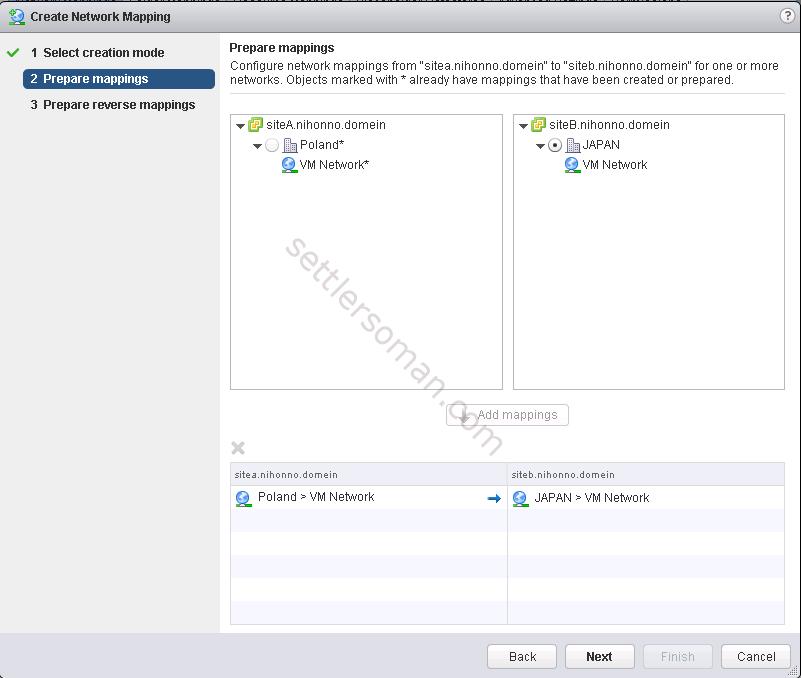
- Select the items on the protected site to map to items on the recovery site. Click Next.
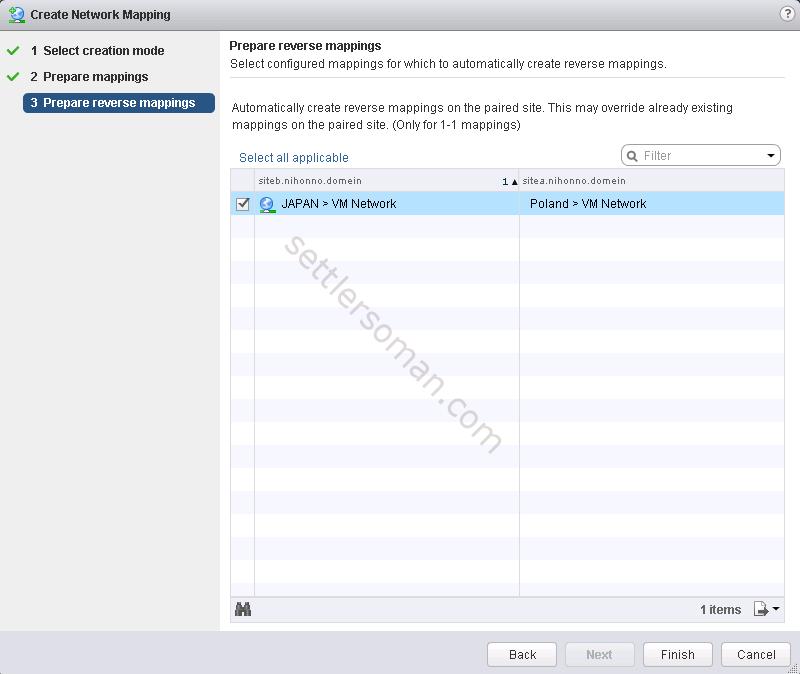
- If you create crossed-sites protection you should create reverse mappings on the paired site. Then click Finish.
- Repeat steps 2-3 to map other resources of the same type from the local site to the remote site. (Folder, Resource)
How to create and configure Protection Group?
Protection Group is a logical object to enable Site Recovery Manager to protect virtual machines.
Note: Please be sure that you configured vSphere Replication for VMs already.
To create Protection Group please follow the below steps:
- On the Name and location page, enter a name and description for the protection group, select a pair of sites or a folder, and click Next.
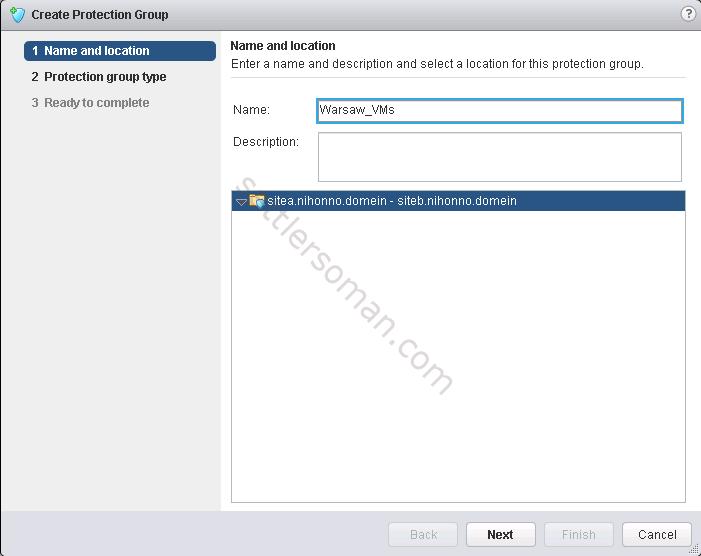
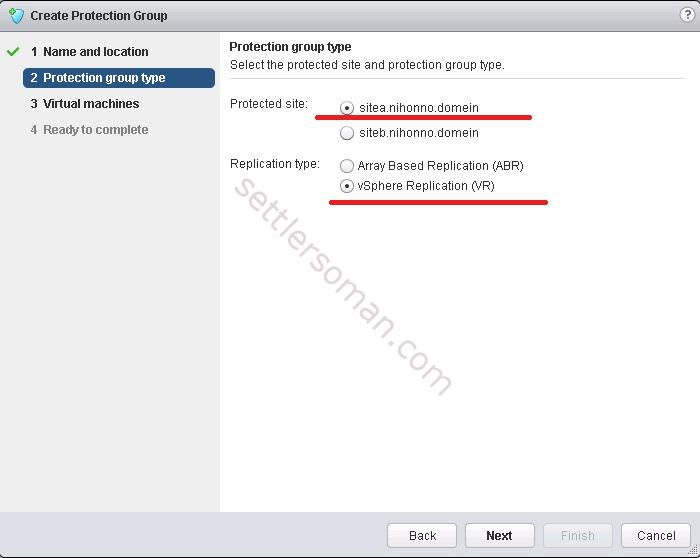
- On the Protection group type page, select the protected site, select the replication type: vSphere Replication click Next.
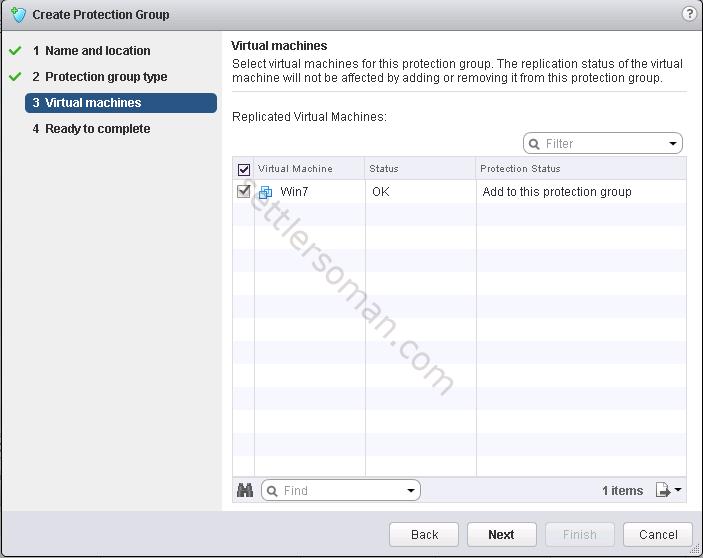
- Select virtual machines to add to the protection group. Click Next.
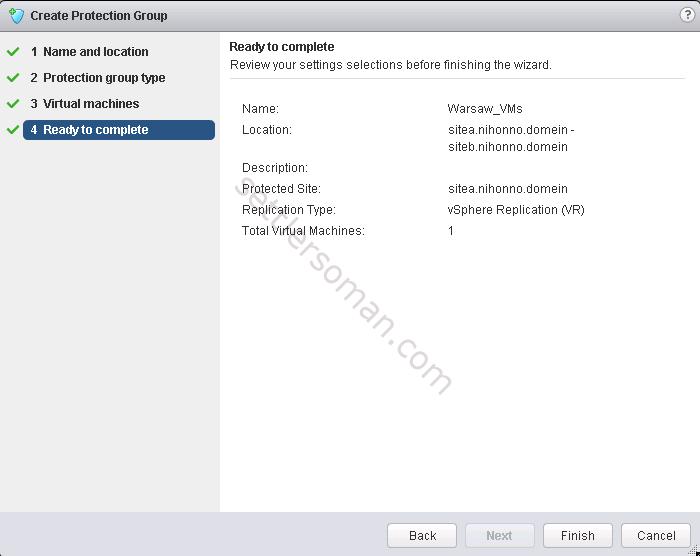
- Review your settings and click Finish.
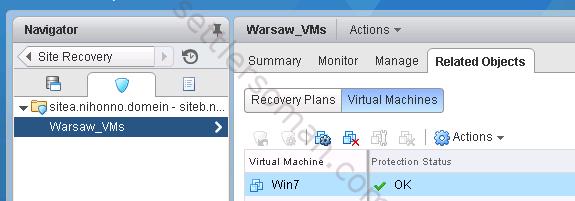
- When you click on created Protection Group and select Related Objects > Virtual Machines, you should see Protection Status as OK 🙂
Conclusion
We have almost configured Site Recovery Manager! What we need to do yet is creating Site Recovery Plans and perform some fail overs! I will show it soon!
