This post covers how to create Storage Unit on NetBackup Advanced Disk using GUI.
- In the NetBackup Administration Console, select either NetBackup Management or Media and Device Management. In the right pane, select Configure Disk Storage Servers to launch the Storage Server Configuration Wizard. Select Advanced Disk and click Next.
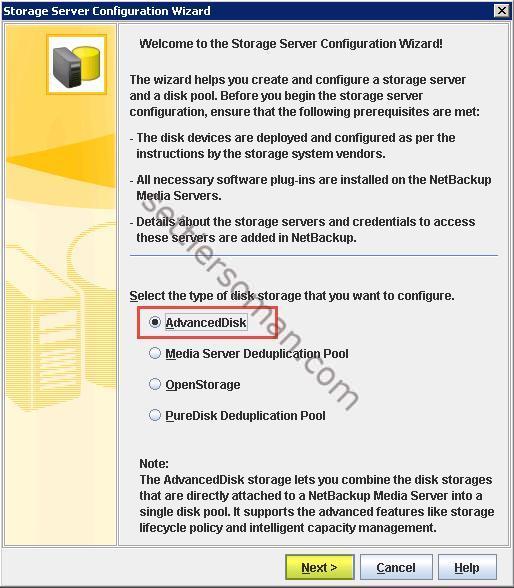
- Select Media server to create Storage server. Click Next.
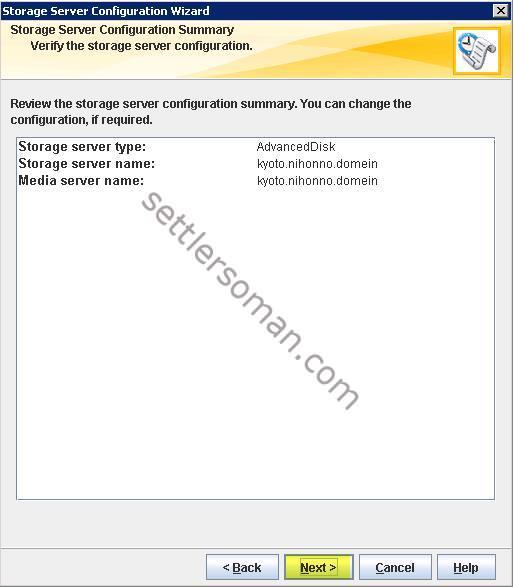
- On the Storage Server Configuration Summary page, verify the storage server configuration. Click Next.
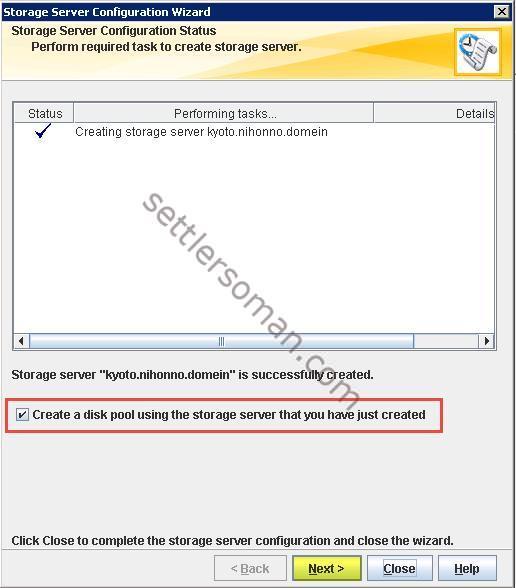
- On the Storage Server Configuration Status page, wait till the Storage Server will be created. Be sure that option shown below is selected. Click Next.
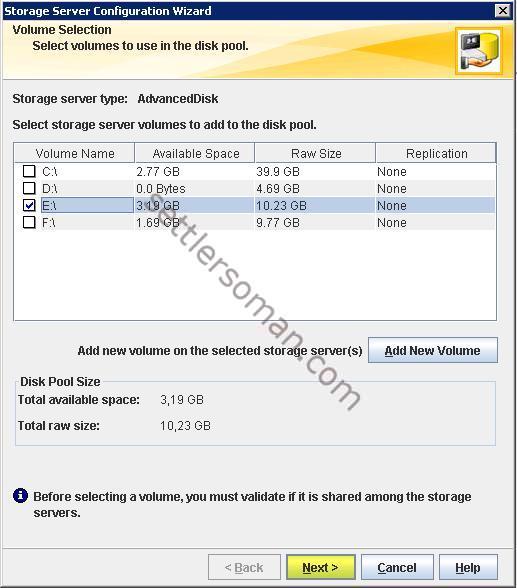
- On the Volume Selection page, select storage server volumes to add to the disk pool. Click Next.
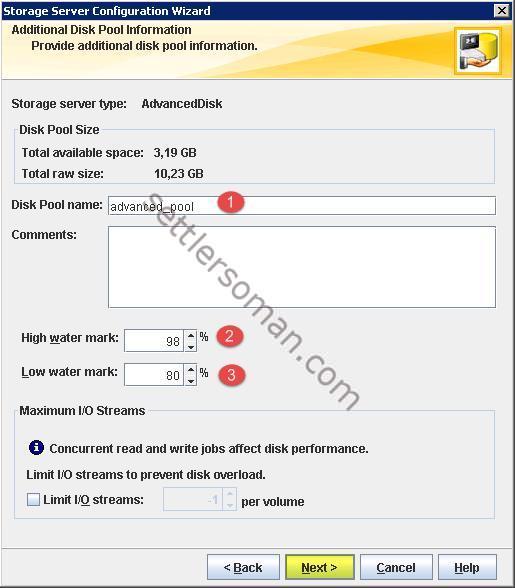
- On the Additional Disk Pool Information page, select Disk Pool name (1), High water mark (2) and Low water mark (3). Click Next.
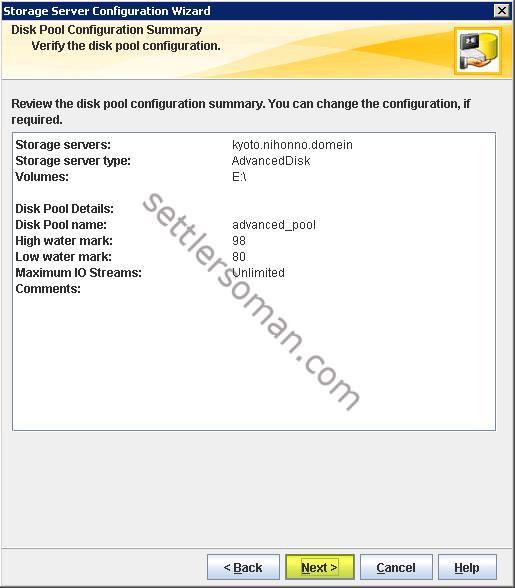
- On the Disk Pool Configuration Summary page, verify the disk pool configuration. Click Next.
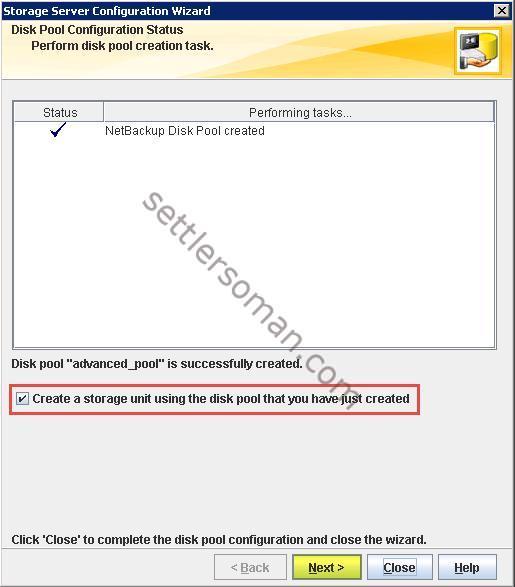
- On the Disk Pool Configuration Status page, create a disk pool and insure that option shown below is selected. Click Next.
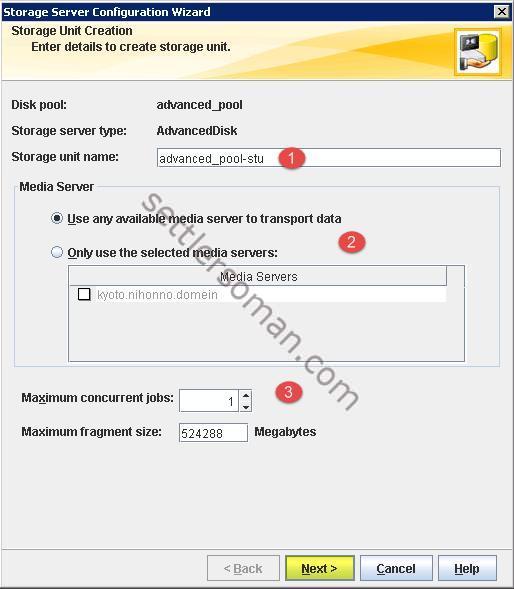
- On the Storage Unit Creation page, enter details to create storage unit: storage unit name (1), load balancing options (2) and maximum concurrent jobs (3). Click Next.
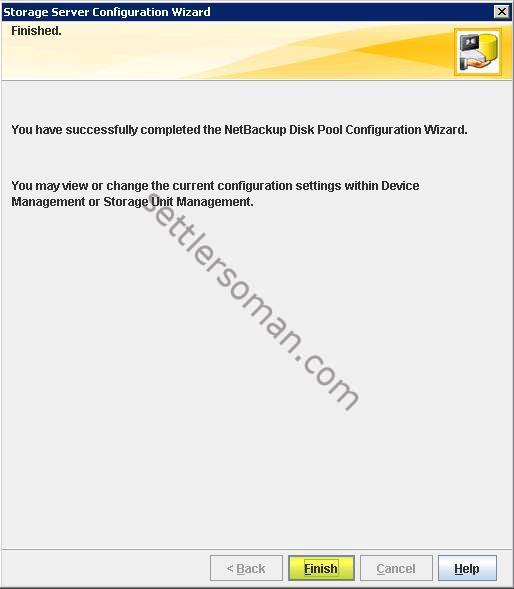
- Click finish to close the wizard. Now you can use a new Storage Unit.
